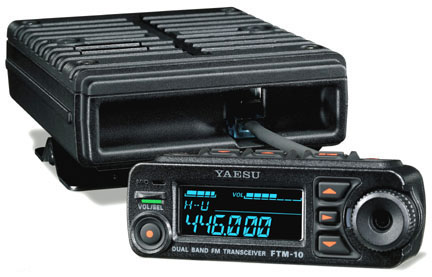
 |
Radio body and
Control Head |
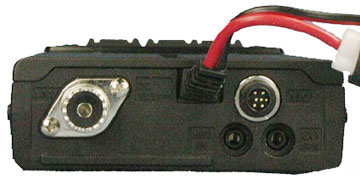 |
Rear view showing
antenna connection on left, passenger headset connection (top right) and
speaker and MP3 connections below. |
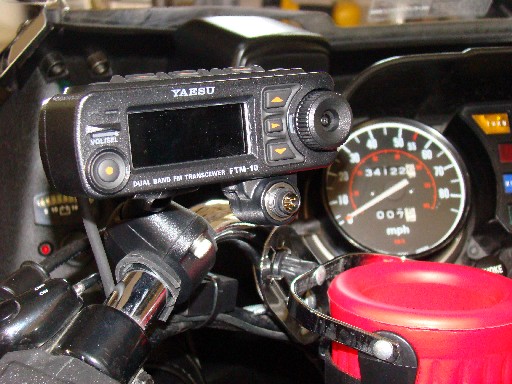 |
The radio control
head is mounted to the handle bars using a Yaesu MMB-M11 bracket.
Using the supplied short cable and a RJ45 double female coupler, the head
can be easily removed and stored.
Note: An
RJ45 dust plug is used to
protect contacts on the coupler when the head unit is not attached. A
female cap is used to protect the plug on the radio head when stored to
prevent the plastic clip from being broken off.
|
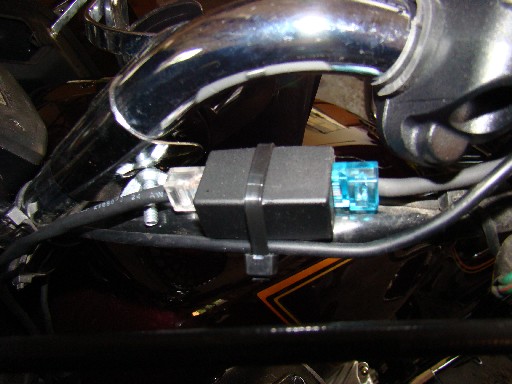 |
A straight through
CAT5 network cable is used to connect the radio to the coupler. |
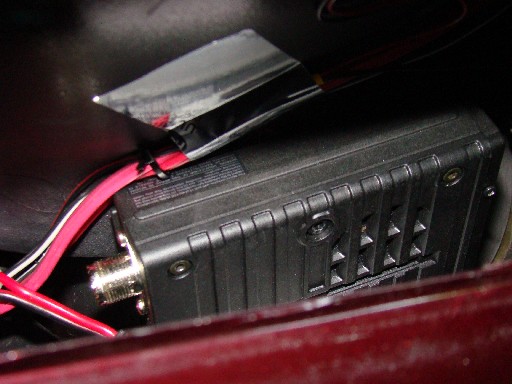 |
The radio is mounted
inside the right side of the Hondaline fairing. A piece of Styrofoam
was placed at the bottom of the fairing to allow for the radio to sit
flat
and take the weight of the radio off the mount.
|
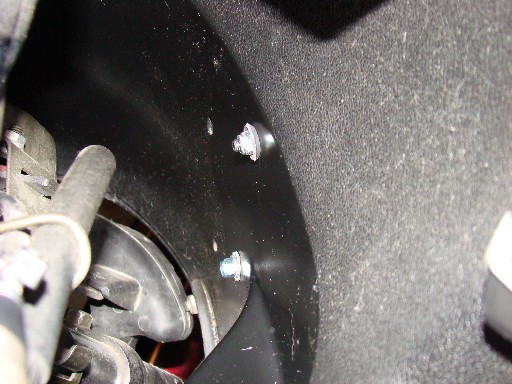 |
The radio was mounted vertically to the fairing
using the two mounting holes in the radio and supplied screws using a rubber
washer, metal washer and lock nut on the outside. |
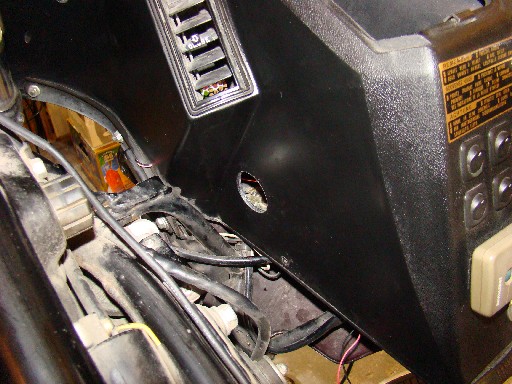 |
A hole was drilled
in the side of the fairing for the installation of the cables. |
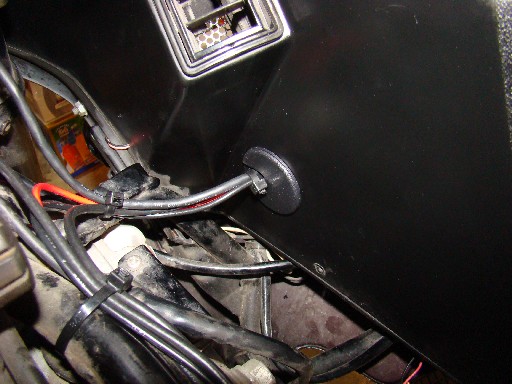 |
A plastic insert and
cap (the type used in running cables through a desk top) was installed and
the cables are run through to provide all
weather protection.
|
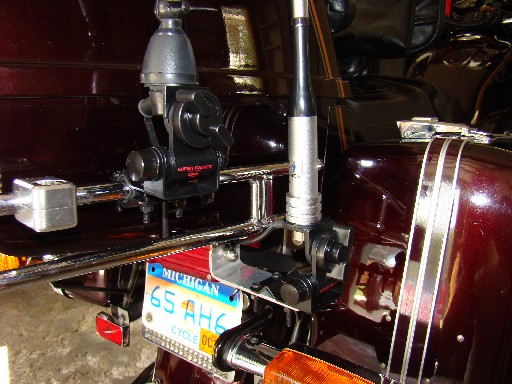 |
The antenna system
consists of a Diamond SG7500 144/440 MHz antenna and a Diamond K540M luggage
rack mount. The mount bracket is fabricated from 1/8" x 3" aluminum.
The CB antenna was moved back and mounted on the trunk frame using the
same K540 mount. |
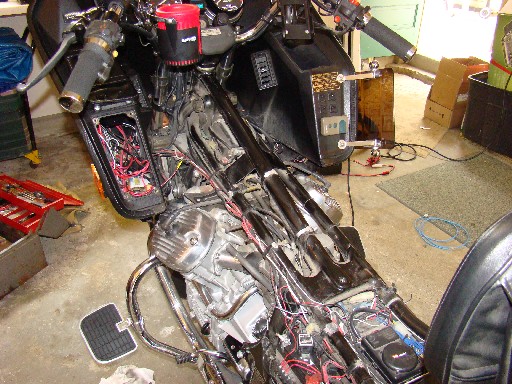 |
The power cable for
the radio is run directly to the battery. (bottom left of the photo).
|
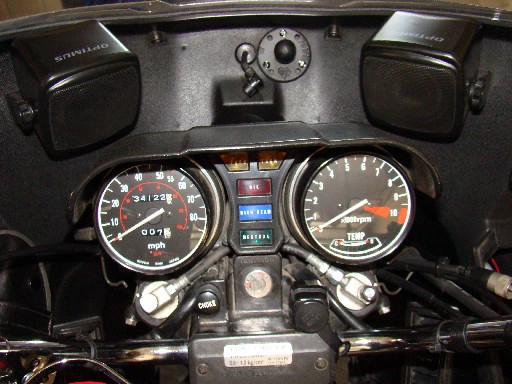 |
Sound for the radio
is supplied by a set of Radio Shack speakers mount in the cockpit area of
the fairing. |
 |
Connection for the
MP3 player is provided by a homemade extension cable run from the radio to
the inside of the left fairing
pocket. A 3.5mm stereo connecting cable is used between the jack and the MP3
player.
|
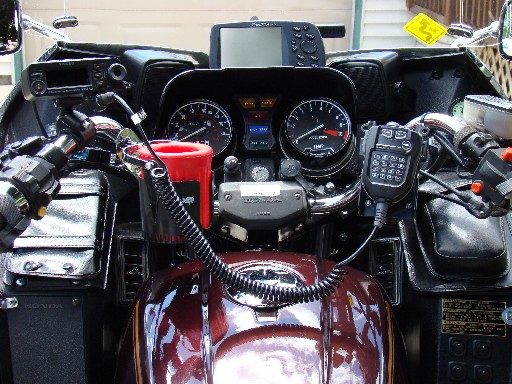 |
Now it's wait for the
Headset adapters, or possible the Bluetooth system. But for now I can
use the weatherproof hand mic. |
 |
UPDATE
(11/19/07)
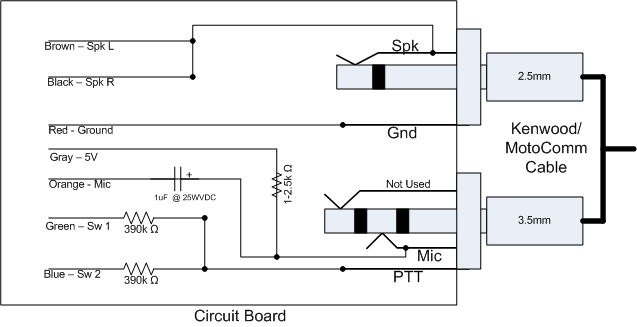
The headset adapters have arrived and the circuit design has been completed
to work with my MotoComm headset. Here is the schematic used to adapt
the Yaesu CT-M11 cable to the MotoComm/Kenwood adapter cable.
(Thanks to Bob Rogers, N8FAU for the circuit design) |
|
|
|
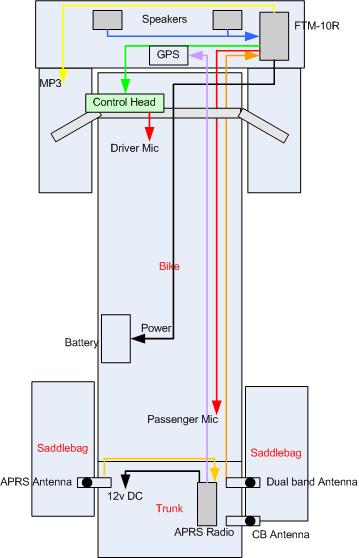 |
Wiring Diagram for
new radio and APRS/GPS system |


