
A loft added additional storage with the 8-12 roof pitch.
A 20 amp electrical service panel was added to proved lighting and electrical outlets.
The Shed (May 1998)
With all kinds of stuff to store and no place to store it, a shed was the logical choice. Here was the process from start to finish. The plans were composed from a couple different designs and slight modification were made to incorporate the garage door in place of a standard swing out doors.
|
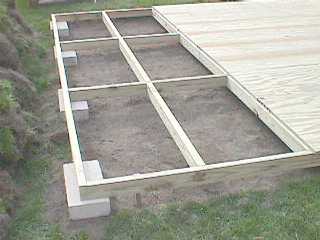
All things start with a good foundation. The ground was leveled and concrete blocks were laid. The frame was squared and the treated plywood was applied on top. |
|
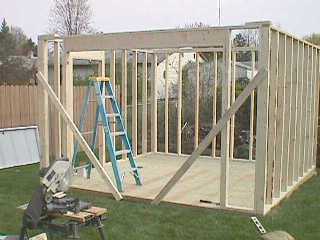
The framing begins to take shape. |
|
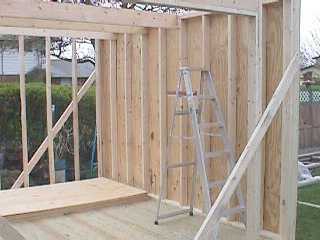
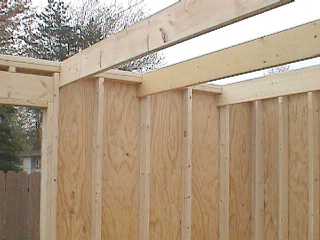
The wall framing is complete and the door headers are in place. |
|
Next was the wall sheeting. |
|
Another look... |
|
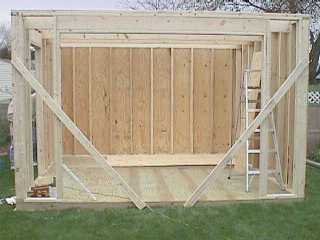
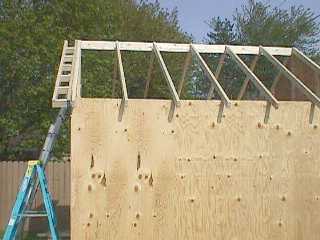
The 2"x10" braces support the walls, roof, and loft that will be added later in the project. |
|
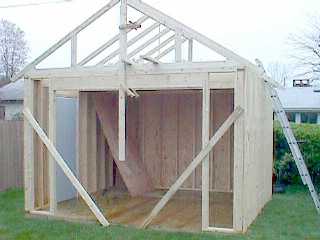
The roof begins to take shape. |
|
Each truss was hand cut and placed 24"OC. |
|
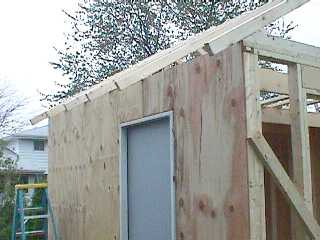
The remainder of the sheeting is in place. |
|
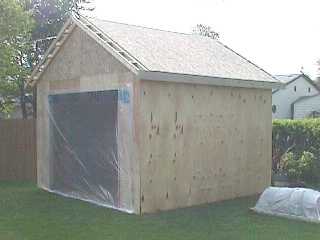
The 8" gable was added in the front and back... |
|
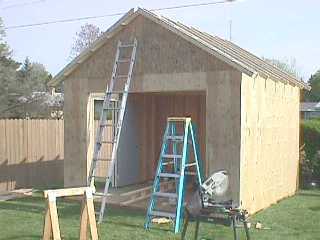
..and the roof sheeting was applied. |
|
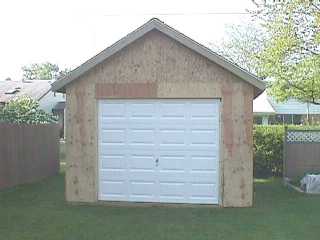
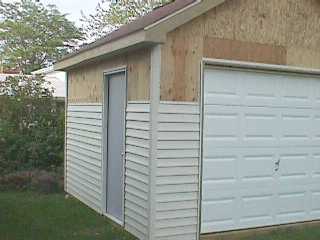
The garage door was a change from the original plans which had the traditional swing out doors. |
|
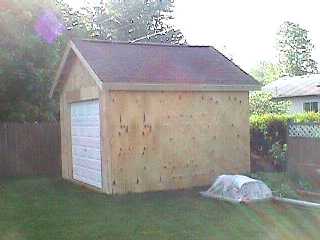
With the singles in place, now
time for the siding. A loft added additional storage with the 8-12 roof pitch. |
|
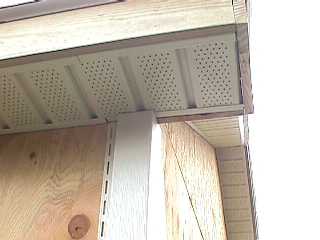
The soffits were first, then the outside edge channel and starter strip. |
|
Once the J-channel was in place the siding went quick. |
|
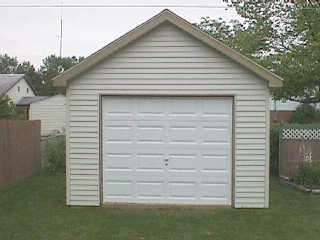
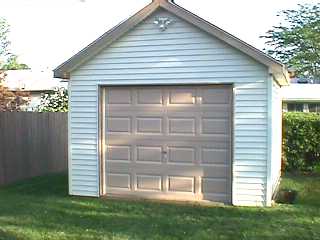
The finished front... |
|
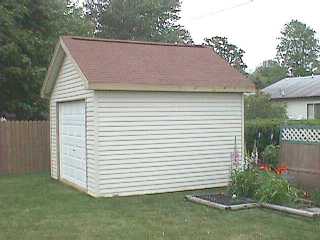
The finished side. A 20 amp electrical service panel was added to proved lighting and electrical outlets. |
|
With painted trim and doors, the job is complete. |
_____________________________________________________________________________
Back to ![]()
Revised: 01/28/15
©Rhuss
All Rights Reserved